Effortless Holiday Feasts: The Ultimate 5-Ingredient No-Drippings Make-Ahead Turkey Gravy Recipe
The aroma of a holiday roast is undeniable, but often, the most anticipated element at the table is the rich, savory gravy. Yet, for many home cooks, gravy can be a source of last-minute stress, demanding attention precisely when the turkey needs carving and guests are eager to eat. What if you could banish that kitchen chaos? Enter the ultimate solution: a delectable, no-drippings, 5-ingredient make ahead turkey gravy recipe that promises velvety perfection without the eleventh-hour scramble. This isn't just gravy; it's a game-changer for Thanksgiving, Christmas, or any special meal. This recipe liberates you from the need for pan drippings from your roasted bird, meaning you can whip up a batch weeks or even months in advance. Imagine the tranquility of warming up a perfectly prepared gravy as your guests arrive, rather than frantically whisking over a hot stove. It’s a testament to simplicity and flavor, proving that the best things often require the fewest ingredients and the least fuss.Why a Make-Ahead Turkey Gravy Recipe is Your Holiday Hero
Gravy has a reputation for being intimidating, primarily because it's often the very last item to be finalized and rushed to the table. When the kitchen is a whirlwind of hot pans, hungry guests, and the pressure of a perfectly timed meal, focusing on achieving that ideal gravy consistency can feel like an impossible feat. Lumps, thinness, or a lack of flavor are common pitfalls when you’re under pressure. This is precisely where a Stress-Free Thanksgiving: Easy Make-Ahead Turkey Gravy Recipe shines as a culinary superpower. By opting for a make ahead turkey gravy recipe, you're not just saving time; you're investing in peace of mind. You can prepare this essential component days, weeks, or even months before your big event. This strategy allows you to:- Reduce Stress: Eliminate one major last-minute task from your holiday cooking itinerary.
- Ensure Perfection: With ample time, you can fine-tune the flavor and consistency without the rush.
- Free Up Oven Space: No need to worry about pan drippings if you're not relying on them.
- Enjoy Your Guests: Spend less time in the kitchen and more time making memories.
The Magic of No-Drippings and Minimal Ingredients
One of the most appealing aspects of this gravy is its independence from pan drippings. While traditional gravy often relies on the flavorful residues left in the roasting pan, this recipe bypasses that requirement entirely. This is fantastic news for several reasons:- Flexibility: You don't need to roast a whole turkey to make this gravy. You can prepare it any time of year, whether you're serving a small chicken dinner or simply craving some comforting mashed potatoes.
- Consistency: Pan drippings can vary greatly in fat content and seasoning, making consistent gravy a challenge. By using a controlled stock base, you achieve reliable results every time.
- Cleaner Process: No scraping pans, no separating fat – just straightforward cooking.
Your Simple 5-Ingredient Lineup
The beauty of this gravy lies in its humble yet powerful ingredient list. Each component plays a crucial role in building flavor and texture:- Butter: The foundation of our roux. We recommend using good quality salted butter for an initial layer of flavor, but unsalted butter works perfectly if you prefer to control the salt content precisely.
- All-Purpose Flour: The thickening agent that, when cooked with butter, creates the classic roux. This gives the gravy its body and smooth texture.
- Salt and Freshly Ground Black Pepper: Essential seasonings that elevate all the other flavors. You’ll add them as you cook and adjust to taste at the end.
- Turkey Stock or Broth: The heart of your gravy’s flavor. While store-bought turkey stock is convenient and works wonderfully, you can also use chicken stock or broth if turkey isn't available. For an unparalleled depth of flavor, consider making your own homemade stock – a truly rewarding endeavor we'll discuss shortly.
Crafting Your Make-Ahead Turkey Gravy: Step-by-Step Mastery
The process for this Prep Ahead: Freezer-Friendly Turkey Gravy for Holidays is straightforward, centering around the classic French technique of making a roux.The Foundation: Building the Perfect Roux
The roux is the secret to a smooth, lump-free, and flavorful gravy. It’s a cooked mixture of butter and flour that thickens your liquid while adding a nutty depth.- Melt the Butter: In a medium saucepan, melt your butter over medium heat. Don’t rush this step; let the butter fully melt and just begin to bubble.
- Season and Whisk in Flour: Add your initial pinch of salt and pepper to the melted butter. Slowly whisk in the all-purpose flour, ensuring it fully incorporates with the butter. Continue whisking constantly for 3-5 minutes.
- Achieve Desired Color: Cook the roux until it reaches your preferred coloring. This can range from a light, blonde hue, which yields a lighter-colored gravy, to a more traditional golden or "nut" color, which imparts a deeper, richer flavor and darker hue. The longer you cook it (without burning), the more complex the flavor will become.
Bringing it Together: Adding the Stock and Thickening
Once your roux is ready, the transformation into gravy is quick and satisfying.- Slowly Whisk in Stock: With your roux at the desired color, begin slowly pouring in the turkey stock (or chicken stock) while constantly whisking. This continuous whisking is key to preventing lumps. Start with a small amount of stock to create a smooth paste, then gradually add the rest.
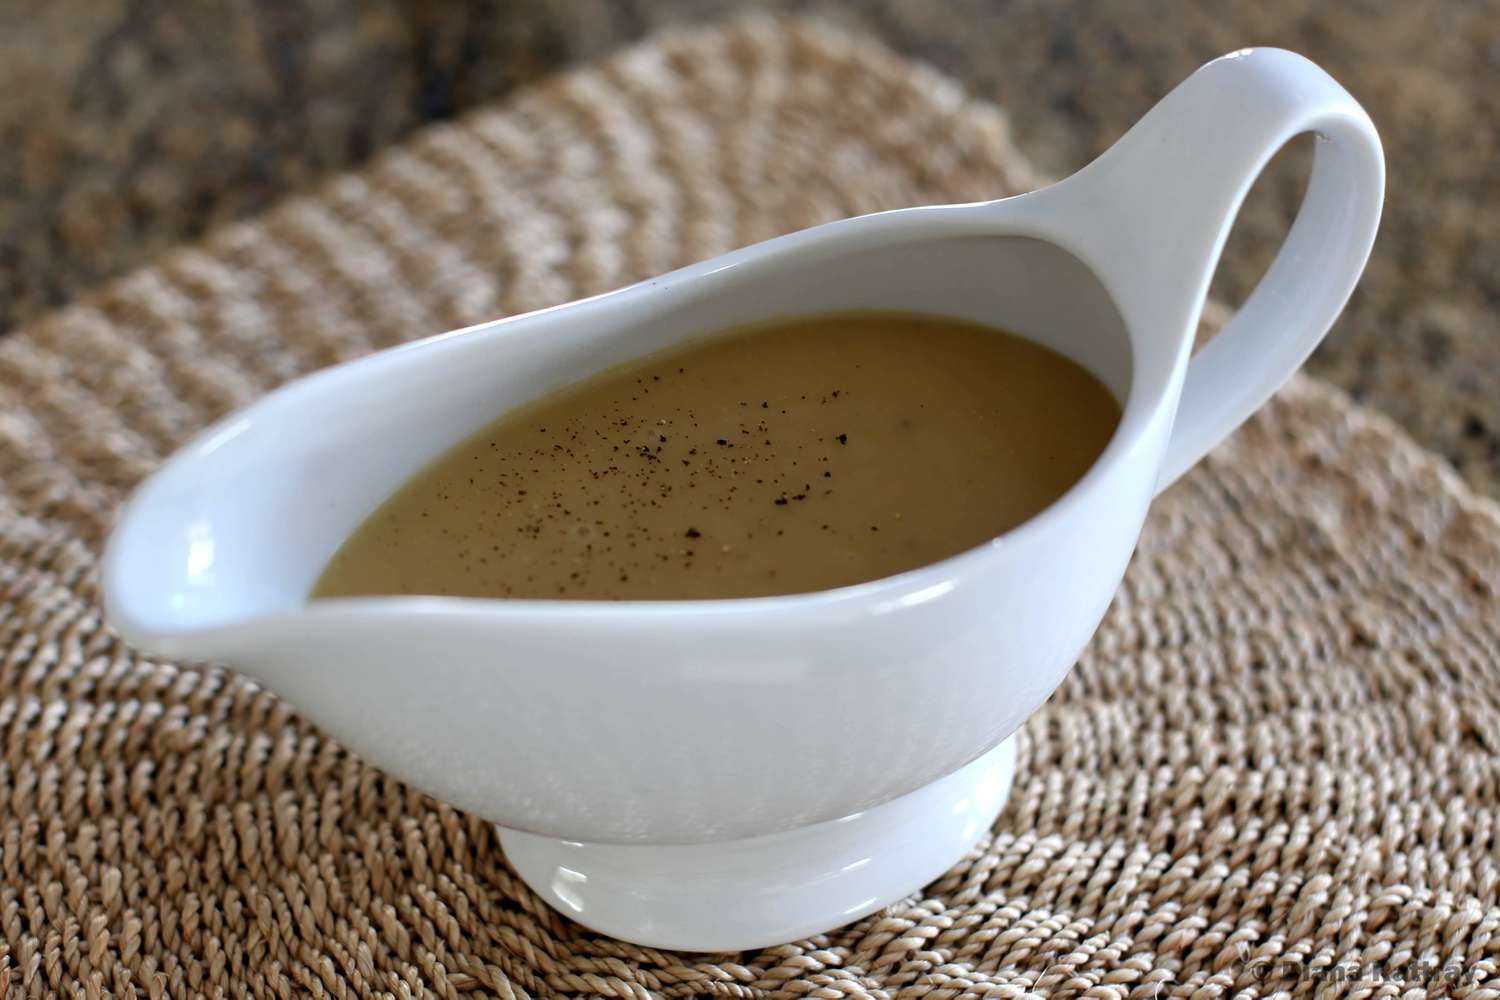
- Simmer to Consistency: Continue to whisk and cook over medium heat until the gravy thickens to your desired consistency. It should be thick enough to coat the back of a spoon. If it becomes too thick, you can whisk in a little more stock or water. If it’s not thick enough, simply continue simmering gently, stirring occasionally, until it reduces to your liking. Taste and adjust seasonings as needed.
Troubleshooting and Flavor Enhancements
Even with the simplest recipes, a few tips can make a big difference:
- Lump Control: If you find a few stubborn lumps, don’t despair! A quick whiz with an immersion blender or a pass through a fine-mesh sieve will result in silky smooth gravy.
- Too Thin/Too Thick: If your gravy is too thin, simmer it gently to reduce and thicken. If it's too thick, simply whisk in a tablespoon or two of warm stock or water until it reaches your desired consistency.
- Beyond Basic Seasoning: While salt and pepper are fundamental, consider adding a pinch of dried thyme or sage during the roux stage for an extra layer of holiday flavor. A splash of dry sherry or white wine simmered down with the stock can also add a delightful complexity.
Elevating Your Stock: The Secret to Unforgettable Flavor (Optional)
While store-bought turkey or chicken stock works beautifully for this make ahead turkey gravy recipe, crafting your own homemade stock takes the flavor profile to an entirely new level. It's a simple, hands-off process that can be done weeks in advance.Homemade Turkey Stock Instructions
This method provides a rich, deeply flavored base for your gravy, far surpassing what you'll find in a carton.
- Gather Your Ingredients: You'll need 2-3 pounds of turkey legs or wings (or a combination), 1 large onion (roughly chopped), 2 carrots (roughly chopped), 2 celery stalks (roughly chopped), a few sprigs of fresh parsley, 1 bay leaf, 1 teaspoon of whole black peppercorns, and cold water to cover.
- Roast (Optional, but Recommended): For deeper flavor and color, roast the turkey legs/wings in a Dutch oven or on a baking sheet at 400°F (200°C) for 30-40 minutes until golden brown. Add the chopped vegetables to the pan during the last 15 minutes of roasting for extra caramelization.
- Simmer for Hours: Transfer the roasted turkey and vegetables (if not already in a Dutch oven) to a large stockpot or Dutch oven. Add the parsley, bay leaf, peppercorns, and cover everything with cold water by about 2 inches. Bring to a gentle simmer, then reduce heat to low.
- Slow Cook to Perfection: Cover and simmer gently for at least 4 hours, or even up to 6-8 hours for maximum flavor extraction. Skim any foam that rises to the surface during the first hour. Keep the turkey and vegetables submerged by adding more water if necessary.
- Strain and Store: Once the stock is rich and flavorful, remove it from the heat. Carefully strain the stock through a fine-mesh sieve (or cheesecloth-lined sieve) into a large bowl, discarding the solids. Let the stock cool completely, then refrigerate. Once chilled, any fat will solidify on top and can be easily skimmed off, leaving you with a clear, concentrated turkey stock.
Serving and Storing Your Make-Ahead Masterpiece
One of the greatest advantages of this make ahead turkey gravy recipe is its versatility in storage.Storage Options
- Refrigerate: Once cooled, transfer the gravy to an airtight container and refrigerate for up to 5 days.
- Freeze: For longer storage, this gravy is perfectly freezer-friendly. Pour the cooled gravy into freezer-safe containers or heavy-duty freezer bags. It can be frozen for up to 3 months. Thaw overnight in the refrigerator before reheating.
Reheating and Serving Tips
When you're ready to serve, reheating is a breeze:
- Gentle Reheat: Transfer the thawed or refrigerated gravy to a saucepan. Reheat gently over medium-low heat, whisking constantly until it is hot and smooth.
- Adjust Consistency: If the gravy has thickened too much during storage, whisk in a tablespoon or two of warm turkey stock or water until it reaches your desired consistency.
- Final Flourish: Taste and adjust seasonings one last time before serving. A pat of butter swirled in at the very end can add extra sheen and richness.
